news - summer 2013 - appliglue tent
 |
A couple of tips and techniques to help you on your way
Cover the surface and your clothes before starting!
Let your imagination fly, have fun, and send us your photographs. What's more you can wash the tent! |
 |
 |
 |
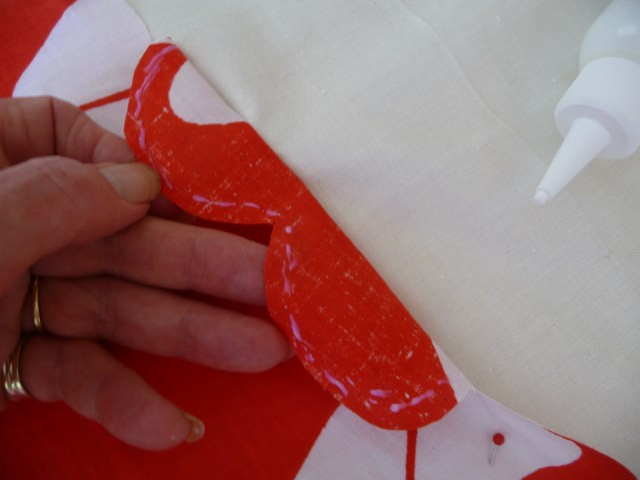 |
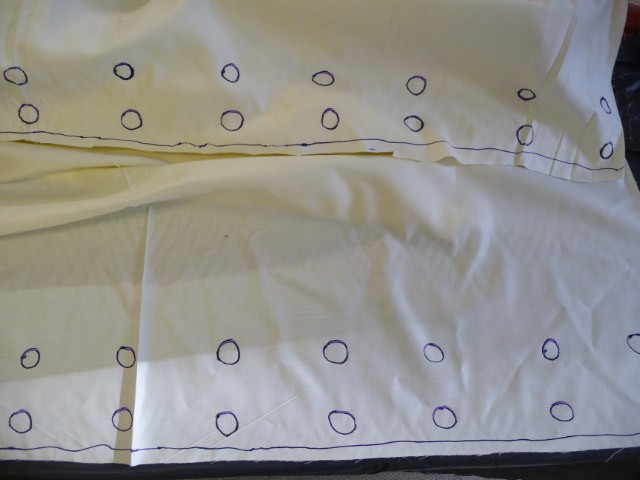
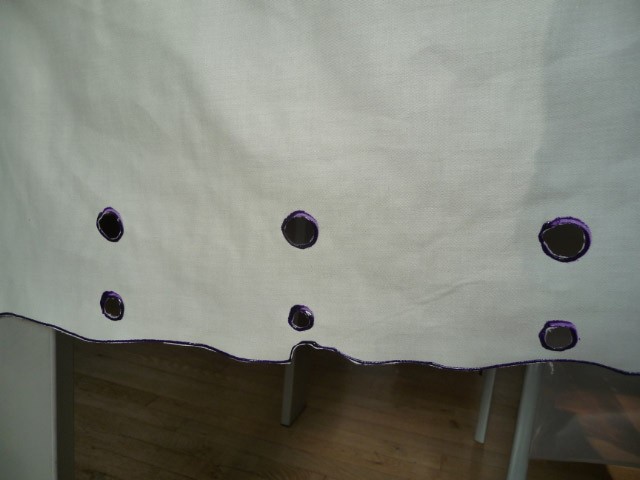
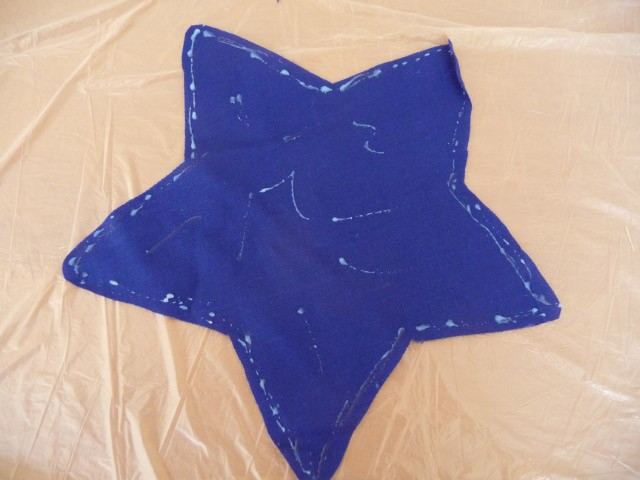
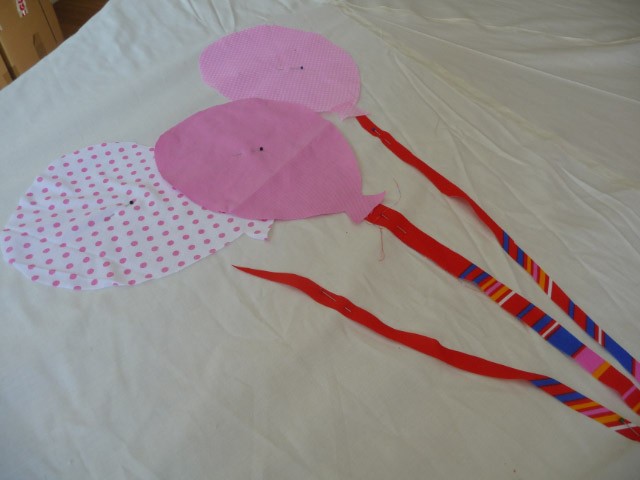
| Draw circles with appliglue. Here I used purple. Draw a line along the edge where you wish to cut. I think in retrospect I could have made even smaller holes. | Nip the inside of the hole and cut out the centre. Cut off the spare fabric along the edge. Here I created a wavy line for fun. The fabric won't fray now. | Add whatever shapes you wish, be it flowers, butterflies or animals. Dab the clear appliglue along the inside edge, and if the piece is very big sometimes it helps to put a couple of scratches and squiggles in the centre. Turn over and press down. | Here I've used the lazy technique. The piece was pinned to the base fabric. Remove the pin and dab the appliglue around the edge. Then press it down. Move further around removing the next pin until the entire piece had been glued down. |
 |
 |
 |
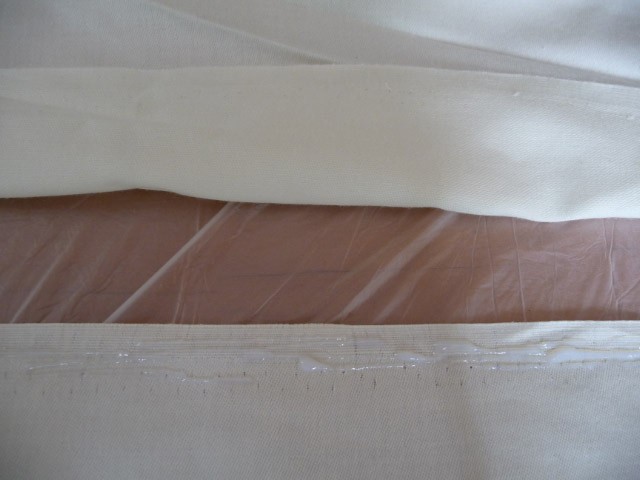 |
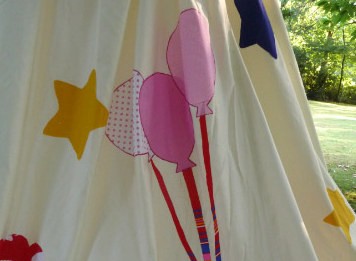
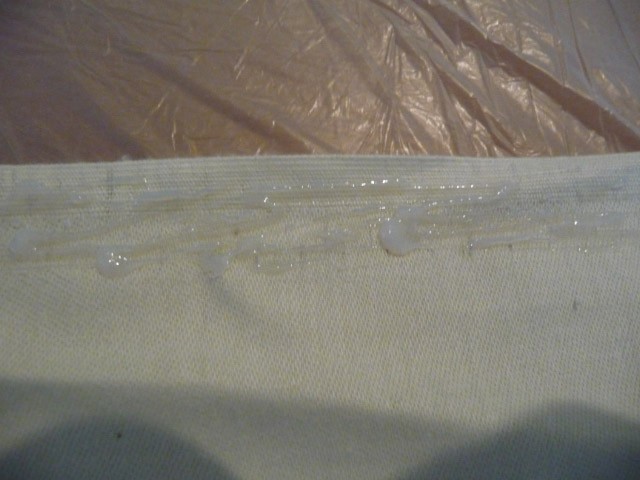
| Initially, pin the pieces in position. Then glue them down with the clear appliglue | After that, the shapes can be edged and finished off with a coloured appliglue. Use a similar colour or a completely contrasting colour. This always looks good but is not necessary | If you need to make a seam, just dab the appliglue down the edge. The amount will be determined by the thickness of the fabric. Don't use more than you need. Remember, you can always add it afterwards if you've missed a bit. | Then place the edge of the other piece of fabric over the appliglued edge and press down. Leave to dry. |
________________________________________________________________


