blog - stables with appliglue
my horses need stables
this was a lockdown project that helped to keep a horse crazy girl sane!!!!
Do you have a daughter, son or grandchild who is totally besotted with horses?
These stables were designed and created by one of those young girls who had a huge creative spurt when time and boredom combined to make it a reality. .
Happy hours were spent planning, glueing and setting it up.
The transferring of her ideas into the completed project was a wonderful education in its own right.
 |
|
|
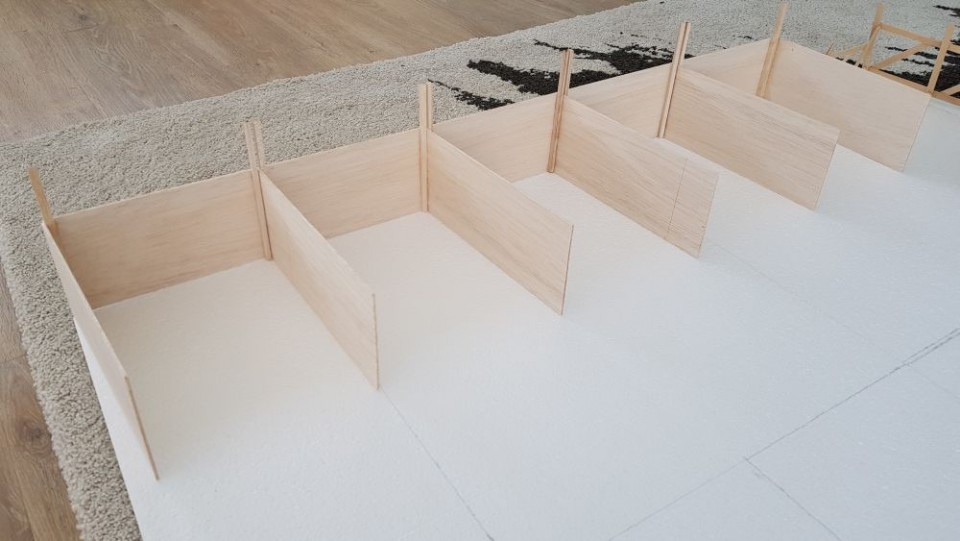
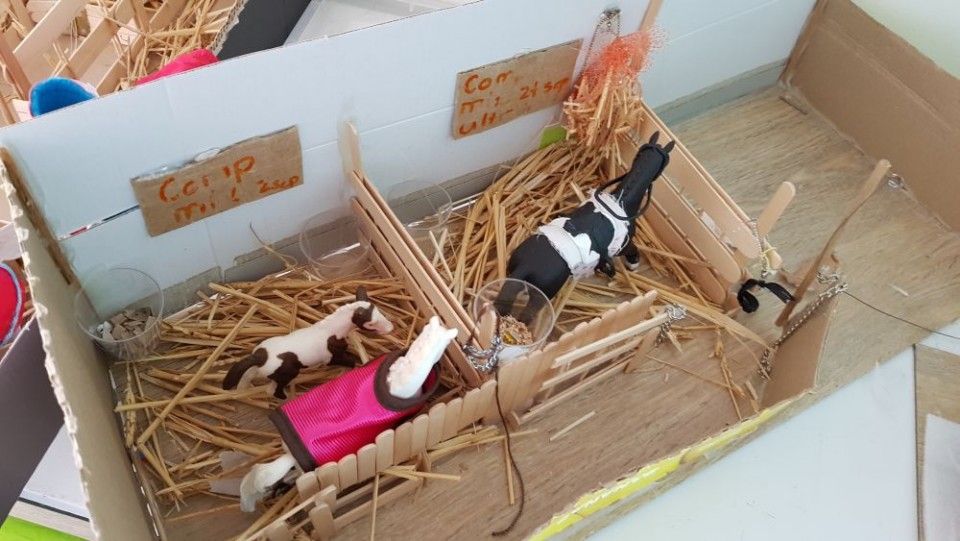
BEFORE In the cardboard box |
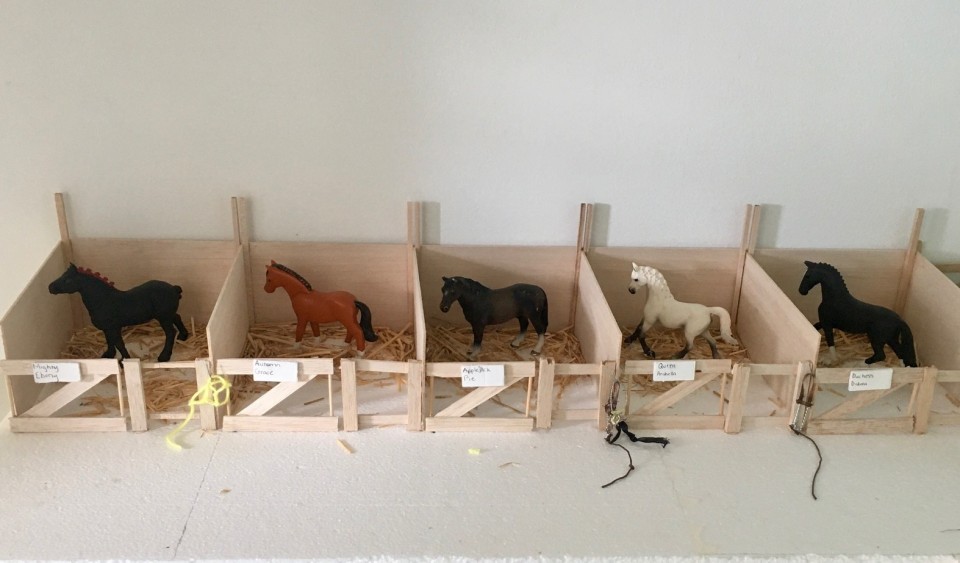
AFTER In the new stable block with enough stables for all the horses! They were placed in their stables immediately. Absolutely no time to put on the blankets, many of which were handmade with love too! |
and this is how it was done!
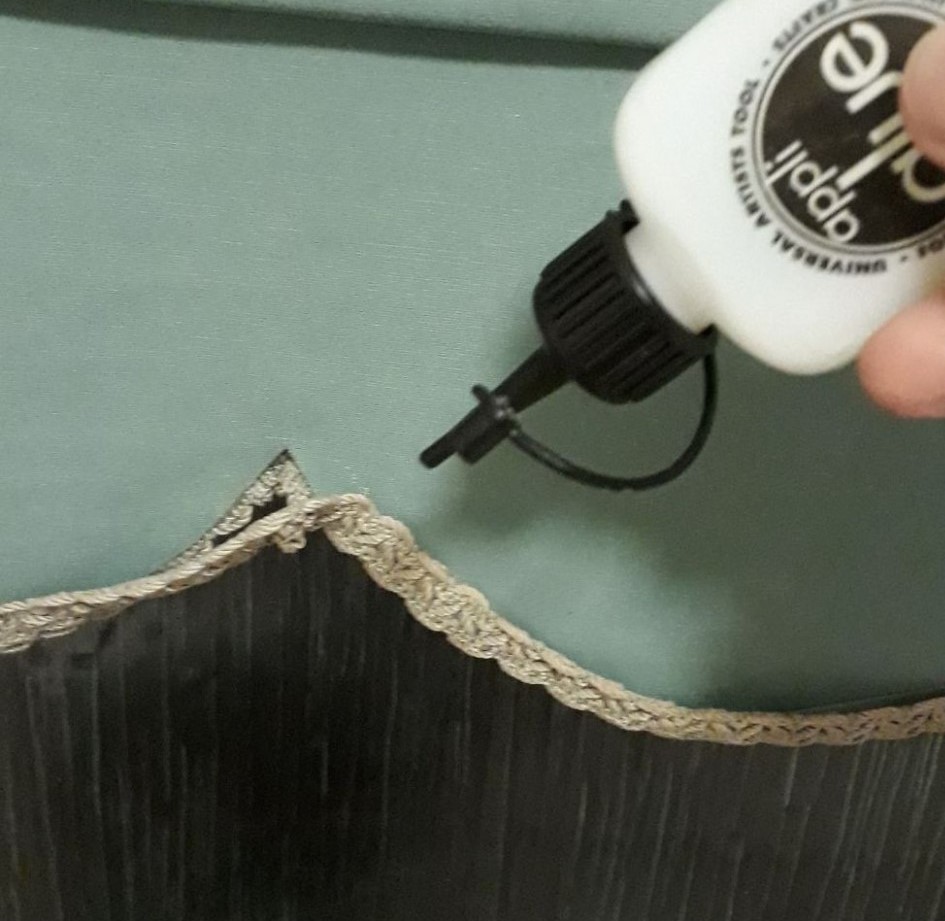
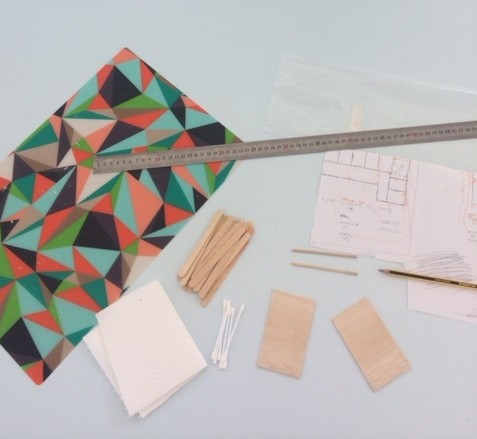
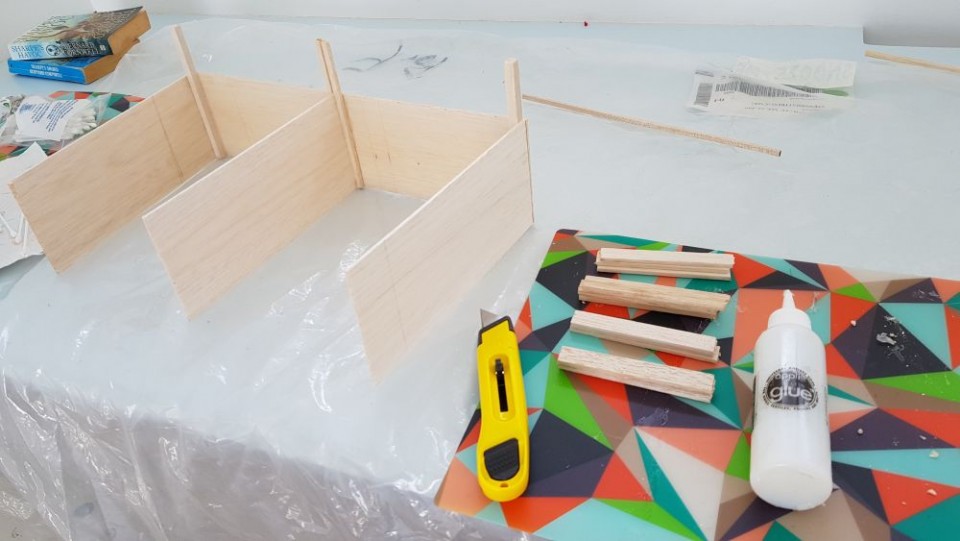
4mm balsa wood, balsa sticks, ice lolly sticks, clear Appliglue, a piece of polystyrene for the base,
a cutting board, a ruler, earbuds, paper towel and a craft knife
ADULTS NOTE: Supervision may be needed to cut the balsa wood using the craft knife, and remember to put on an apron/large old tshirt.
All the bits and pieces were collected and laid out ready for use.
A lot of time was spent deliberating and planning the layout of the stables even before cutting started. And then a test was done to see how to make the corner.
We all just want to get on with the new project, but it pays to exact a little patience and have a practice.
 |
|
|
Initially she made a small drawing of the design. All the lines of all the squares were measured. This needs to be scaled up to the final size needed now. |
Here one can see the drawing of the new calculated size transferred on to a large piece of board.
|
This is how you scale up a drawing.
Measure one side of the final project. Measure the same side of the small sketch.
Divide the larger number of the board size by the smaller sketch size. You now have the number you will use to scale up the sketch.
For example, if the side on the sketch is 20cm and the final project is 100cm (1 metre), the number used to multipy up each of the sketch's number is 5. Got it?
So, use this number to multiply up each one of the measurements of your little sketch.
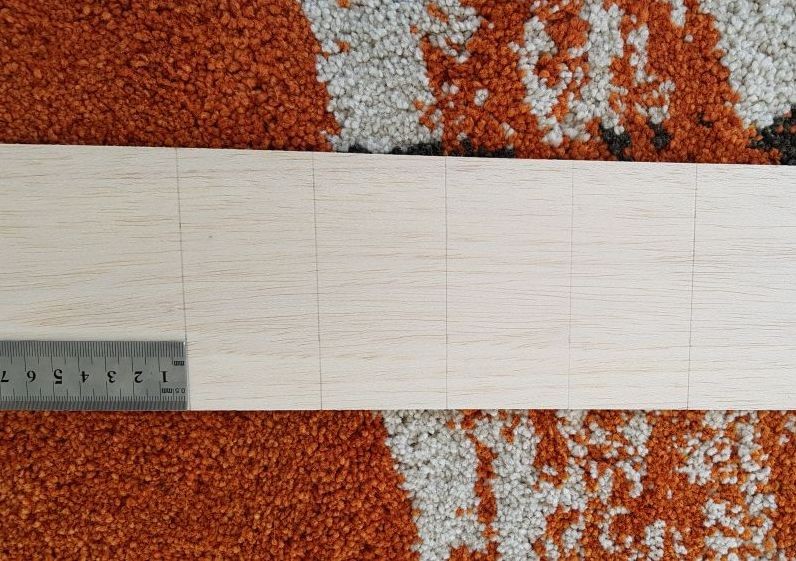
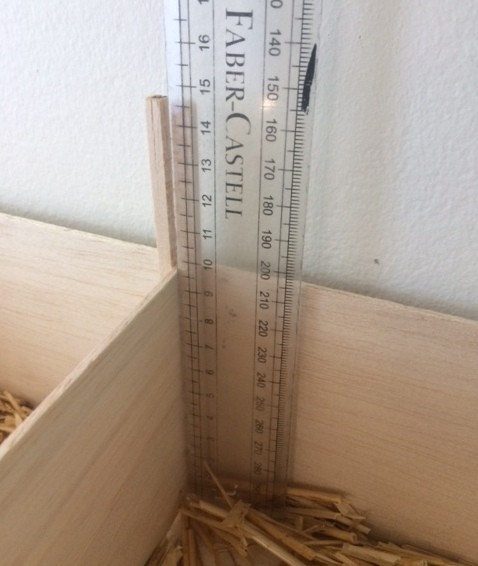
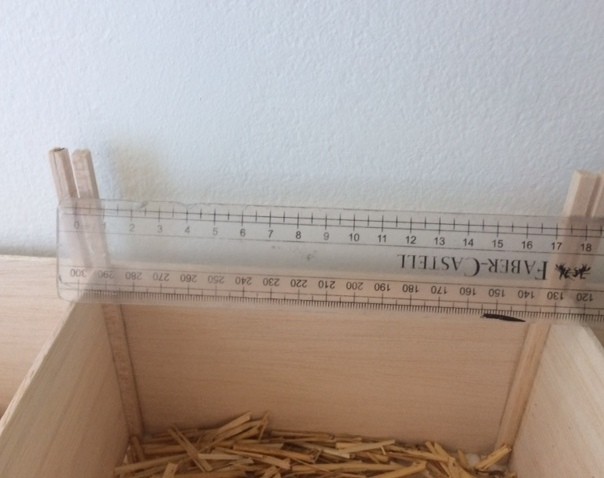
Once the measuring and drawing of the lines was complete, the balsa wood was cut to size.
 |
 |
 |
REMEMBER: Always do a test piece before you start the final project.
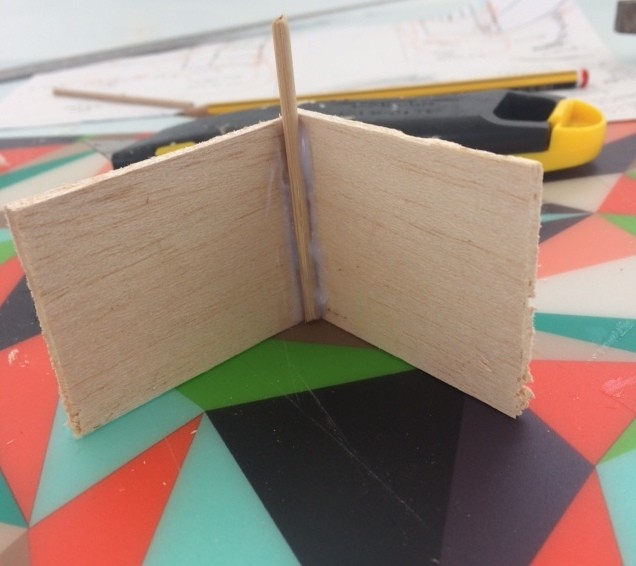 |
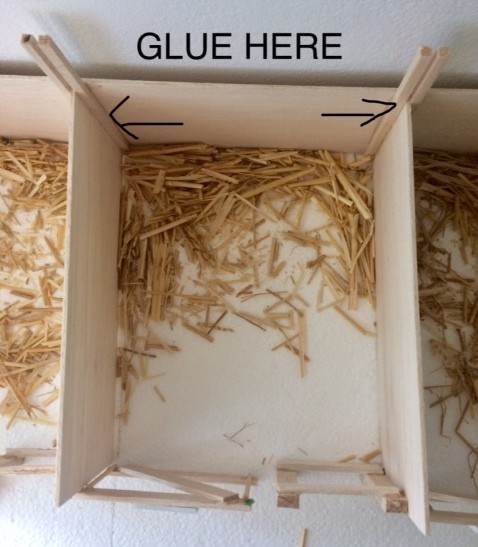
This was the test piece to see how to make up a corner. Using the craft knife the balsa wood for the stall was cut to size. Then the pieces were glued together as shown above using clear Appliglue. The corner post holds the two walls together. In this case the post is taller to carry the later addition of a roof. The Appliglue was applied rather liberally, but fortunately because it dries clear it won't be too obvious! |
 |
 |
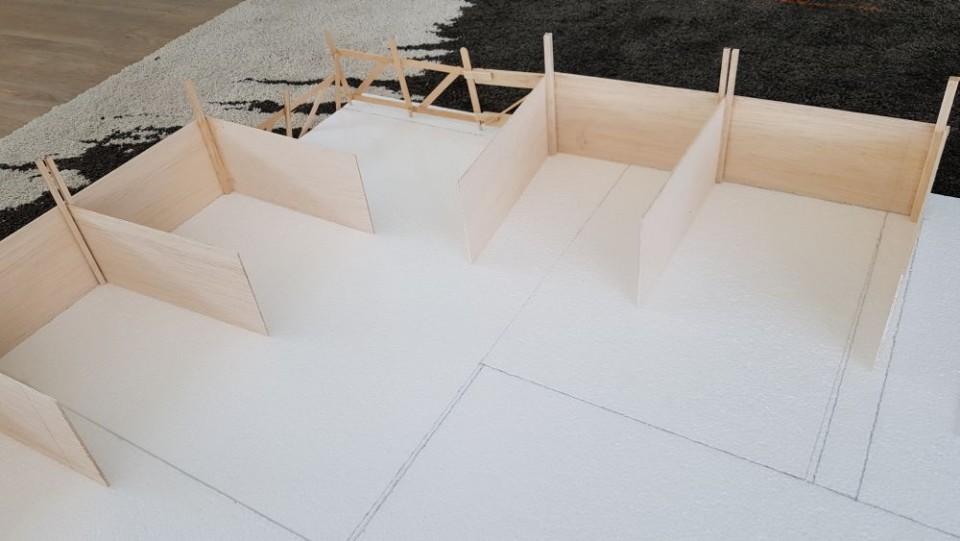 |
| Continue to add stalls together until you have built up the number required. | A little assistance here! | These stables had 2 rows of 5 stalls, linked in the corner with the tack room/wash stand!? |
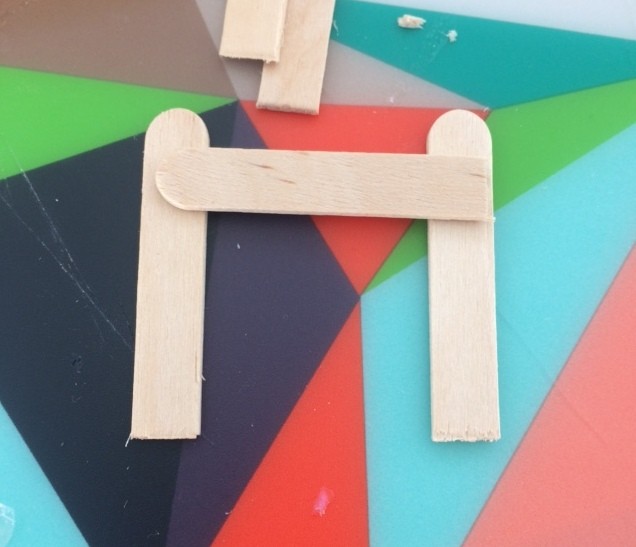
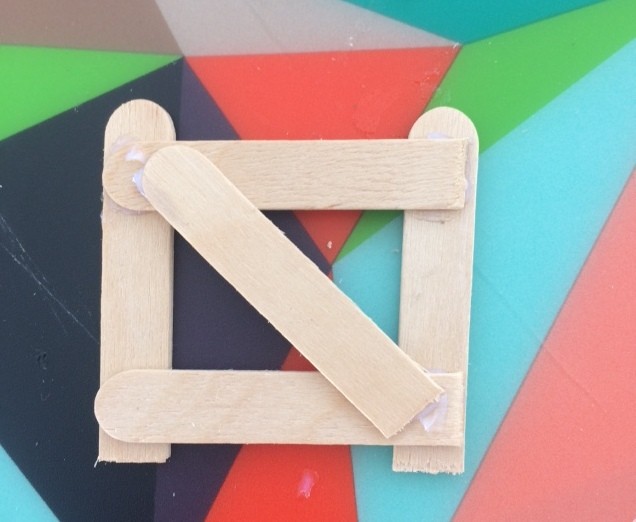
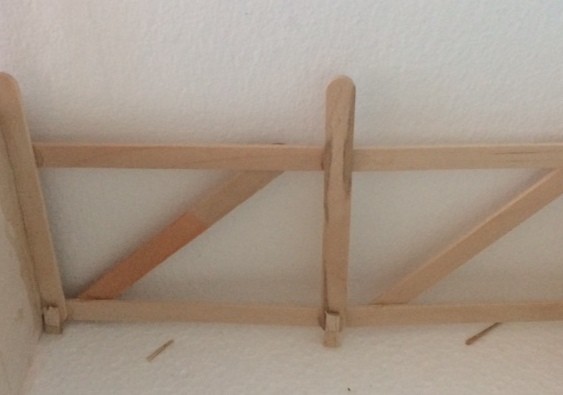
Lolly sticks were used to make the fences and the stable doors.
 |
 |
 |
| Lay out the pieces of the lolly sticks to ensure the measurements for the stable door is the right size. |
Then appliglue them together. |
Again. Lay out the lolly pieces for the fences and glue them together in the same way. |
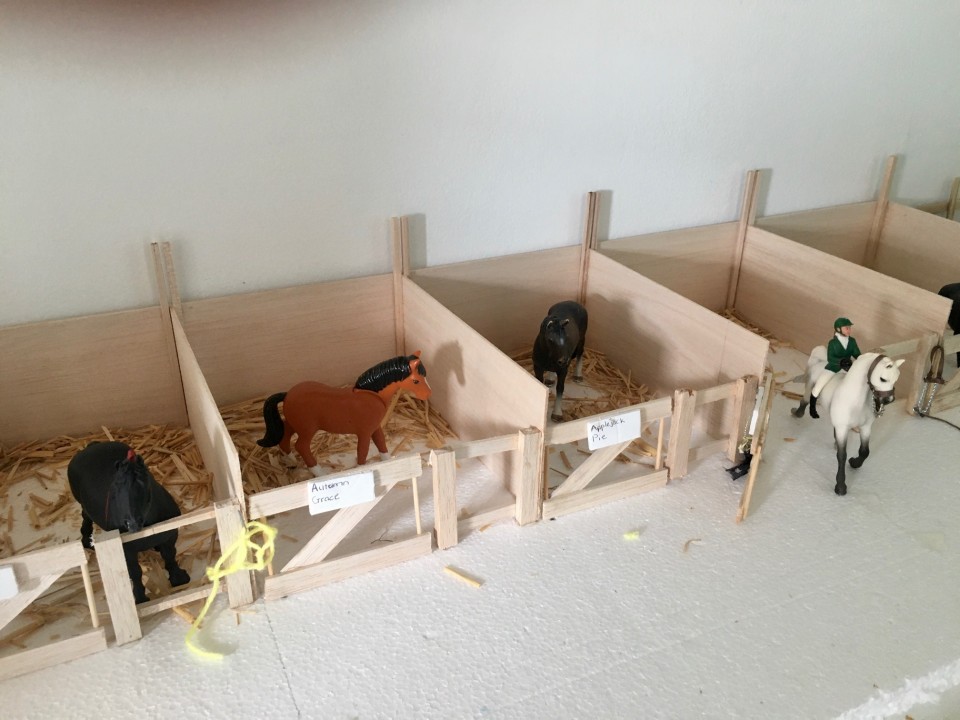
It's one of those projects that will run and run, because there's always something more to complete or add.
What a great project!
previous posts;

